Note cards are great for studying, researching, creative writing and much more. Each note card has a title and body which may have differing editing styles.
To use the described feature on an iPadOS or macOS device, first extend the shelf on the left side of the screen. On an iPhone, the shelf extends from the bottom instead. Here are the steps to follow:
Accessing the Note Card Item: Tap on the note card item located in the shelf. This will cause the item to animate and move to the center of the canvas.
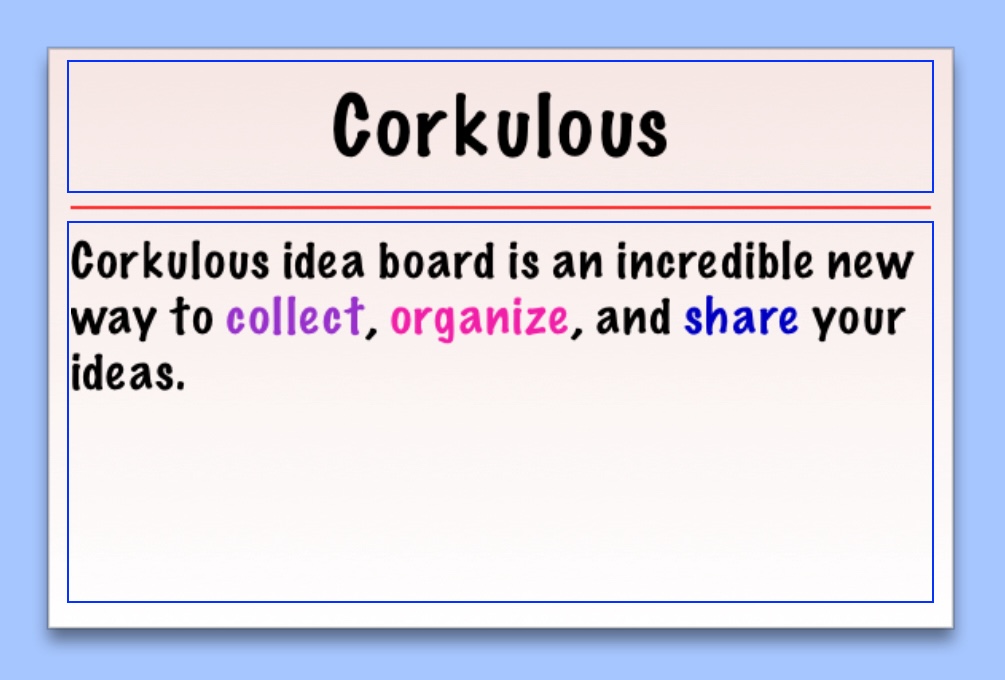
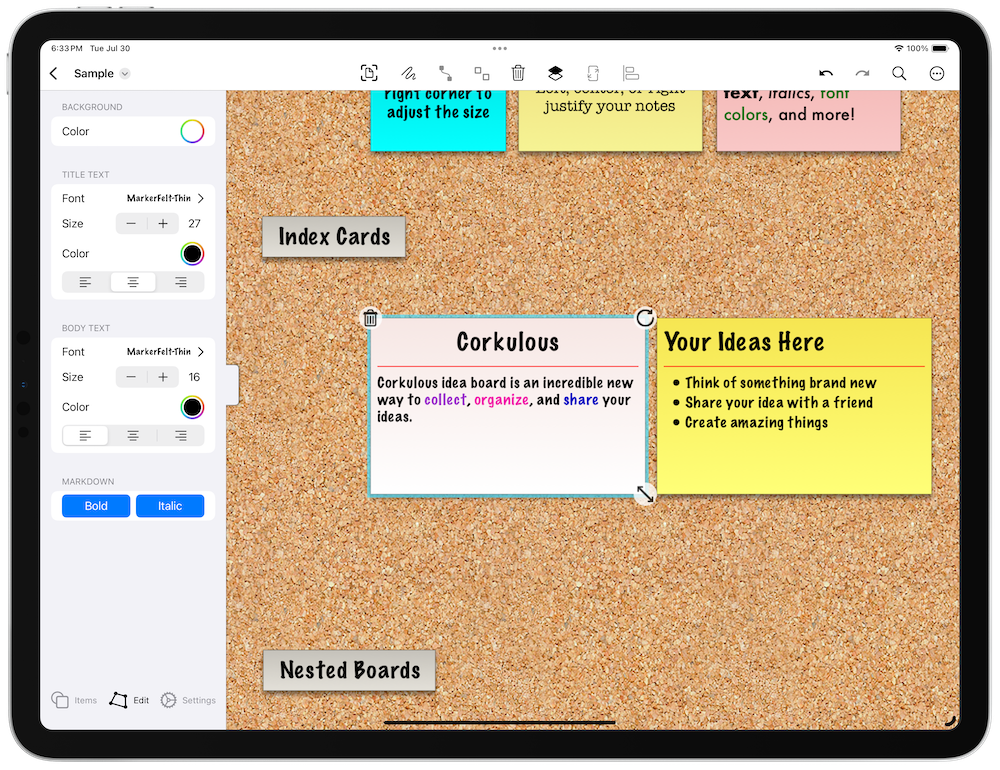
Editing the Task: Once the task is in the center, users may edit it by changing fonts, sizes, and colors. Users can also add markdown for text styling and other formatting needs. Note cards have two differing sections users can edit: the title and body. See the below image which illustrates this.
Note Card Tips
Creating Similar Items: To quickly create an item similar to one you've just made, use the keyboard shortcut ⇧⌘N.
Connecting Items: To connect items, long-press on an item until it glows. Then, drag a string/connector to another item. Alternatively, select two items and connect them using the pin button in the navigation bar. There's also a setting in the board's settings to choose the type of connections.
Drag and Drop/Pasting Text: Users can add items by dragging and dropping or pasting text. In the boards settings, there’s an option to control which items are created when dropping/pasting text. It’s recommended to use the 'ask' setting for more control over this process.
 To use the described feature on an iPadOS or macOS device, first extend the shelf on the left side of the screen. On an iPhone, the shelf extends from the bottom instead. Here are the steps to follow: